Self Clinching Nuts are essential fasteners used in thin sheet materials, such as metal or plastic, to create secure threaded connections. They offer significant advantages over traditional nuts, including ease of installation and reliable performance. In this article, we’ll explore how the installation process of Self-clinching Nuts works, and whether any special tools are necessary for their application.

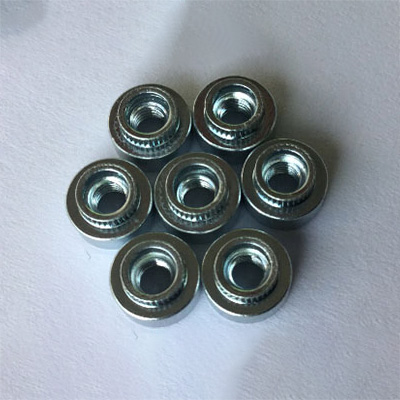
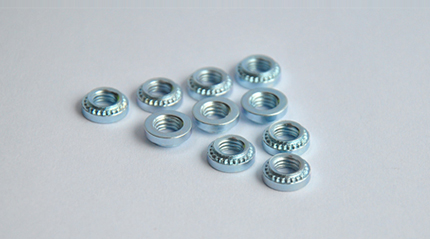
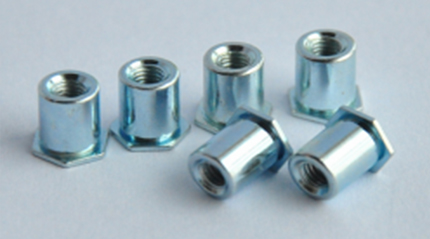
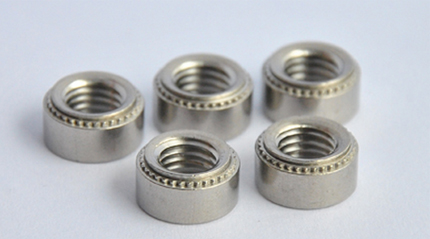
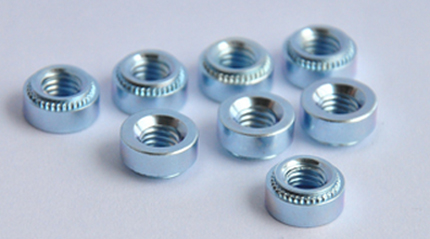
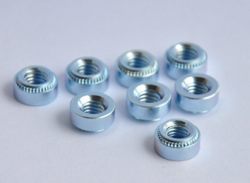
A self-clinching nut is a type of fastener designed to be permanently embedded into a thin sheet material, providing a strong, secure threaded connection. The nut has a special design, typically featuring a flange and a knurled body, which allows it to "clinching" or embed itself into the material as it is installed.
These nuts are often made from stainless steel, brass, or other corrosion-resistant materials, making them suitable for a wide range of industries, including electronics, automotive, aerospace, and more.
The installation of self-clinching nuts is straightforward, especially when compared to traditional fastening methods that require threading or welding. Here’s a step-by-step guide to how the process works:
1.Prepare the Thin Sheet Material:The first step in installing a self-clinching nut is to prepare the material (usually metal or plastic) in which the nut will be installed. The material must have a specific thickness to accommodate the self-clinching nut’s size. The hole in the material must also be drilled to match the nut's outer dimensions. This ensures a proper fit for the nut during installation.
2.Insert the Self Clinching Nut into the Hole:Once the hole is drilled, the self-clinching nut is placed into position. The nut has a body with a knurled section and a flange that sits flush against the surface of the material. The flange helps to create a strong, secure hold once the nut is installed.
3.Press the Nut into Place:The nut is then pressed into the material. As the nut is driven into the hole, the knurled body of the nut deforms the material around it, creating a mechanical interlock between the nut and the material. This ensures that the nut stays securely in place, even under heavy stress or load.
4.Complete the Clinching Process:The final stage involves applying pressure to clinch the nut fully into the material. This is done using a press machine or a hydraulic press, which exerts enough force to cause the material to "flow" around the nut’s knurled surface. Once the nut is fully clinched, it remains firmly embedded, providing a reliable threaded connection.
5.Finish and Inspection:After installation, the nut is now ready to receive a screw or bolt, and the material is ready for further assembly or use. A quality check is typically performed to ensure the nut is correctly installed and functions properly.
Yes, specialized tools are required for installing self-clinching nuts. These tools help ensure that the nut is installed properly and securely without damaging the material. Here are the key tools commonly used for installation:
1.Press Machines:A press machine is the most common tool used for installing self-clinching nuts. This machine applies the required force to press the nut into place. Depending on the application, this could be a manual press, pneumatic press, or hydraulic press. These machines provide the precise amount of pressure needed to clinch the nut into the material without causing any deformation or damage.
2.Pneumatic or Hydraulic Presses:In high-volume manufacturing or applications that require a high level of precision, pneumatic or hydraulic presses are often used. These provide consistent and uniform pressure, ensuring reliable installation and reducing the risk of installation errors.
3.Hand Tools (for Low-Volume Applications):For smaller or low-volume applications, manual hand tools may be used. These tools usually consist of a press tool and die set that can be operated by hand. While less efficient than automated machines, hand tools can still provide reliable installation for small-scale projects.
4.Die Sets:Die sets are often used in conjunction with press machines. These sets are designed to fit the specific dimensions of the self-clinching nut and material, ensuring proper alignment and installation. They also help to distribute the pressure evenly across the nut, preventing damage during installation.
The self-clinching nut installation process offers several advantages over traditional fastening methods:
1.No Need for Thread Cutting: Self-clinching nuts eliminate the need to cut threads into the material, saving time and reducing manufacturing complexity.
2.Strong and Reliable Connection: Once installed, self-clinching nuts provide a strong, durable connection that can withstand high levels of torque and tension.
3.Reduced Labor Costs: Because installation is quick and easy, it can significantly reduce labor costs and time spent on assembly.
4.No Welding or Heat Required: Self-clinching nuts can be installed without the need for welding or heat, making them ideal for sensitive materials that may be damaged by such processes.
Self-clinching nuts offer a fast, reliable, and efficient way to create threaded connections in thin sheet materials. The installation process is simple, involving inserting the nut into a pre-drilled hole and applying pressure to clinch it into place. While specialized tools, such as press machines and die sets, are required for installation, these tools ensure that the nut is securely and precisely embedded, making the process straightforward and highly effective.

www.panelfastenercn.com
Copyright © 2025 Dongguan Hongrui Hardware Technology Co., Ltd All rights reserved.